Screenshots
A visual tour of the Open Receipt OCR interface.
🎥 Demo Video
Dashboard
The dashboard gives an at-a-glance summary of your OCR activity: total jobs, completed, processing, and failed counts, plus a list of recent jobs.

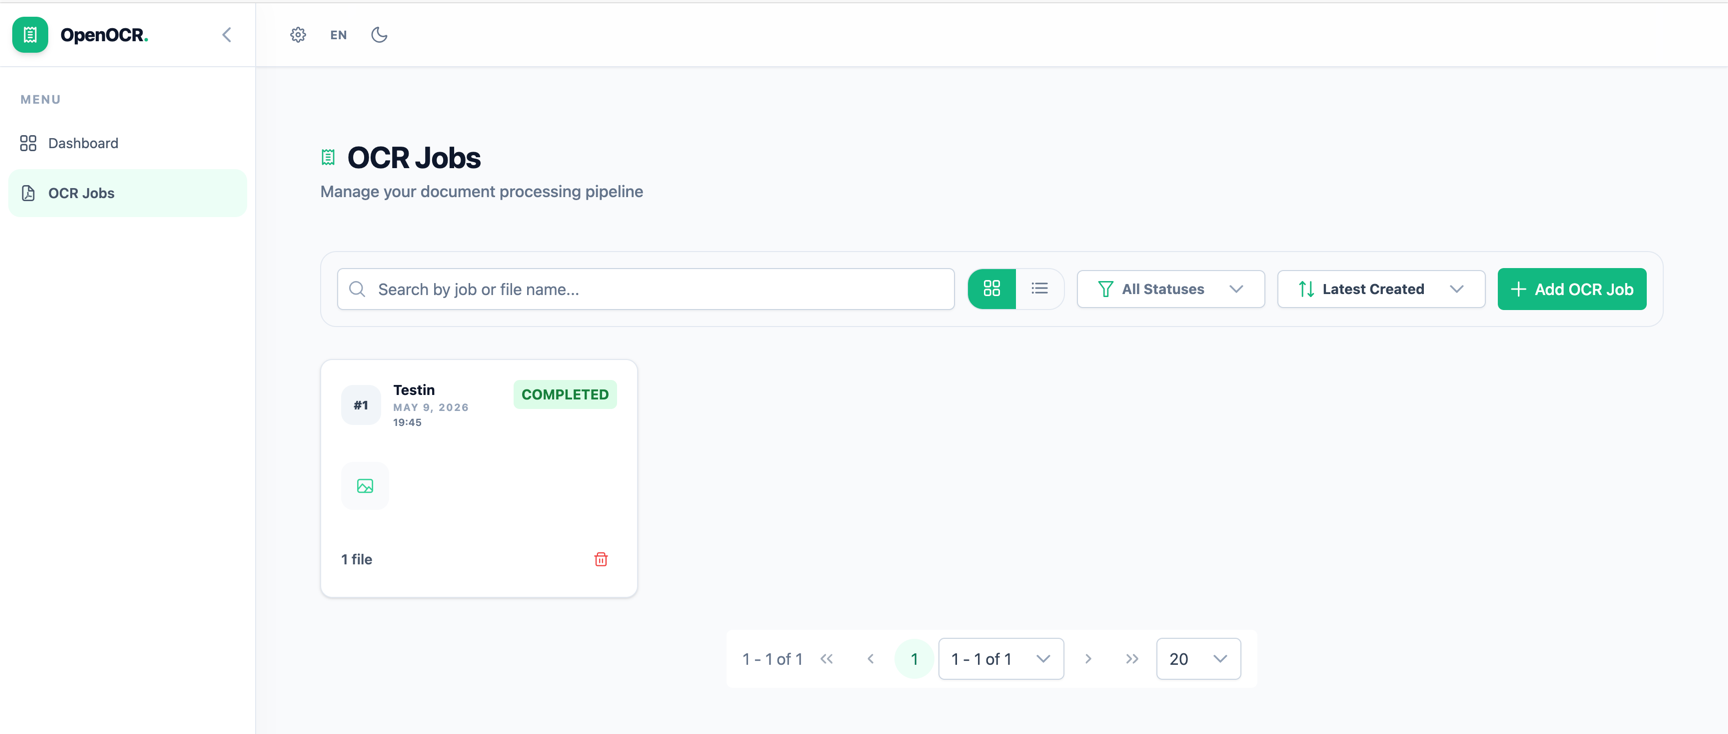
OCR Jobs — Card View
The jobs listing in card view. Each card shows the job name, creation date, status badge, file thumbnails, and a delete button.
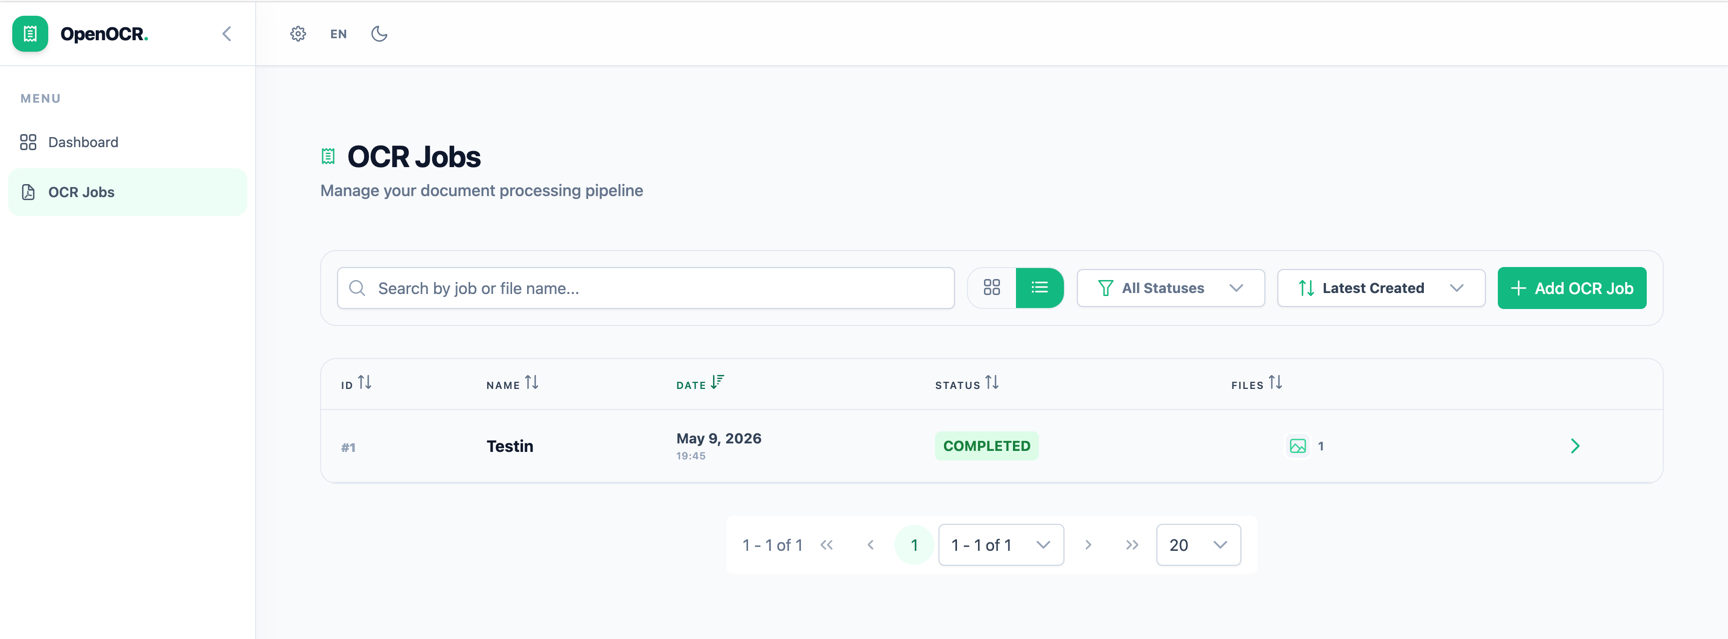
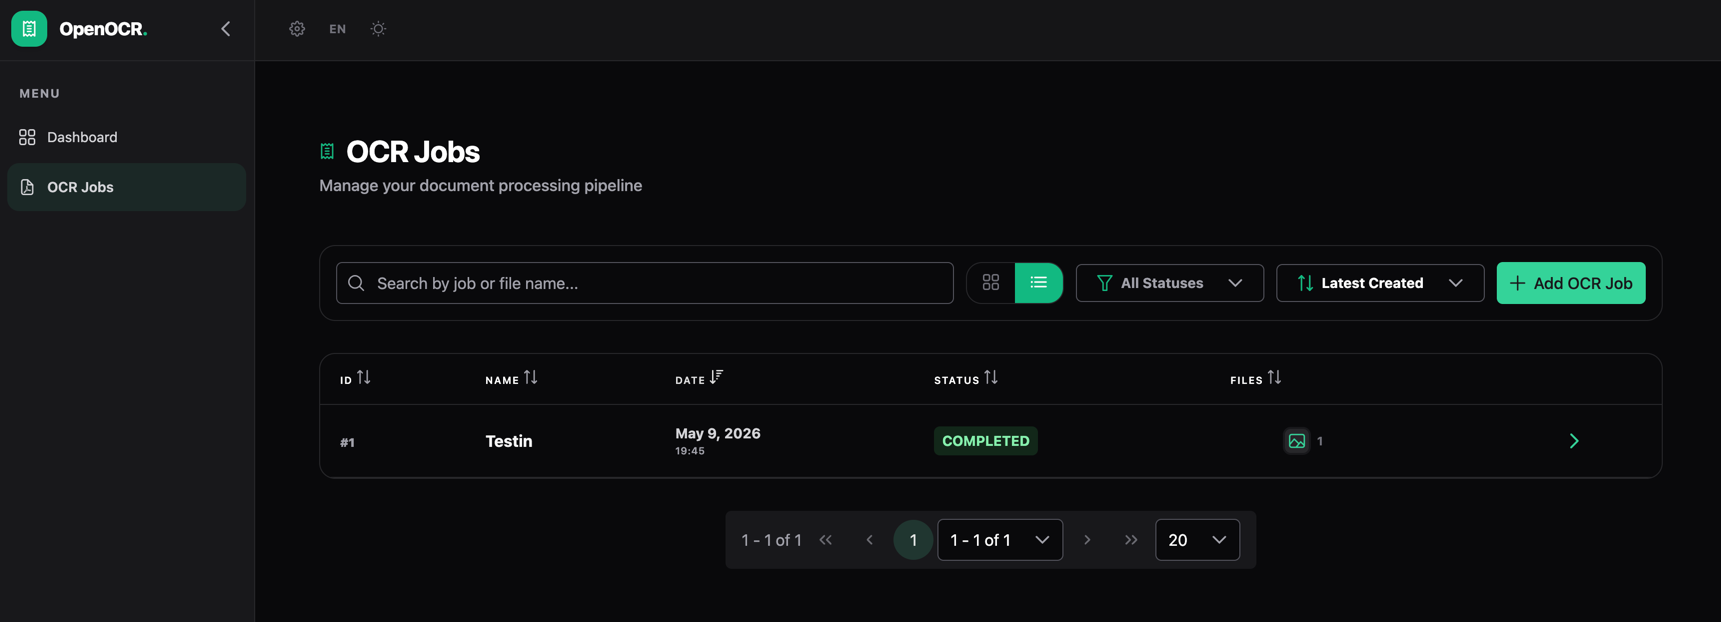
OCR Jobs — Table View
The same listing switched to table view, showing sortable columns for ID, Name, Date, Status, and Files.
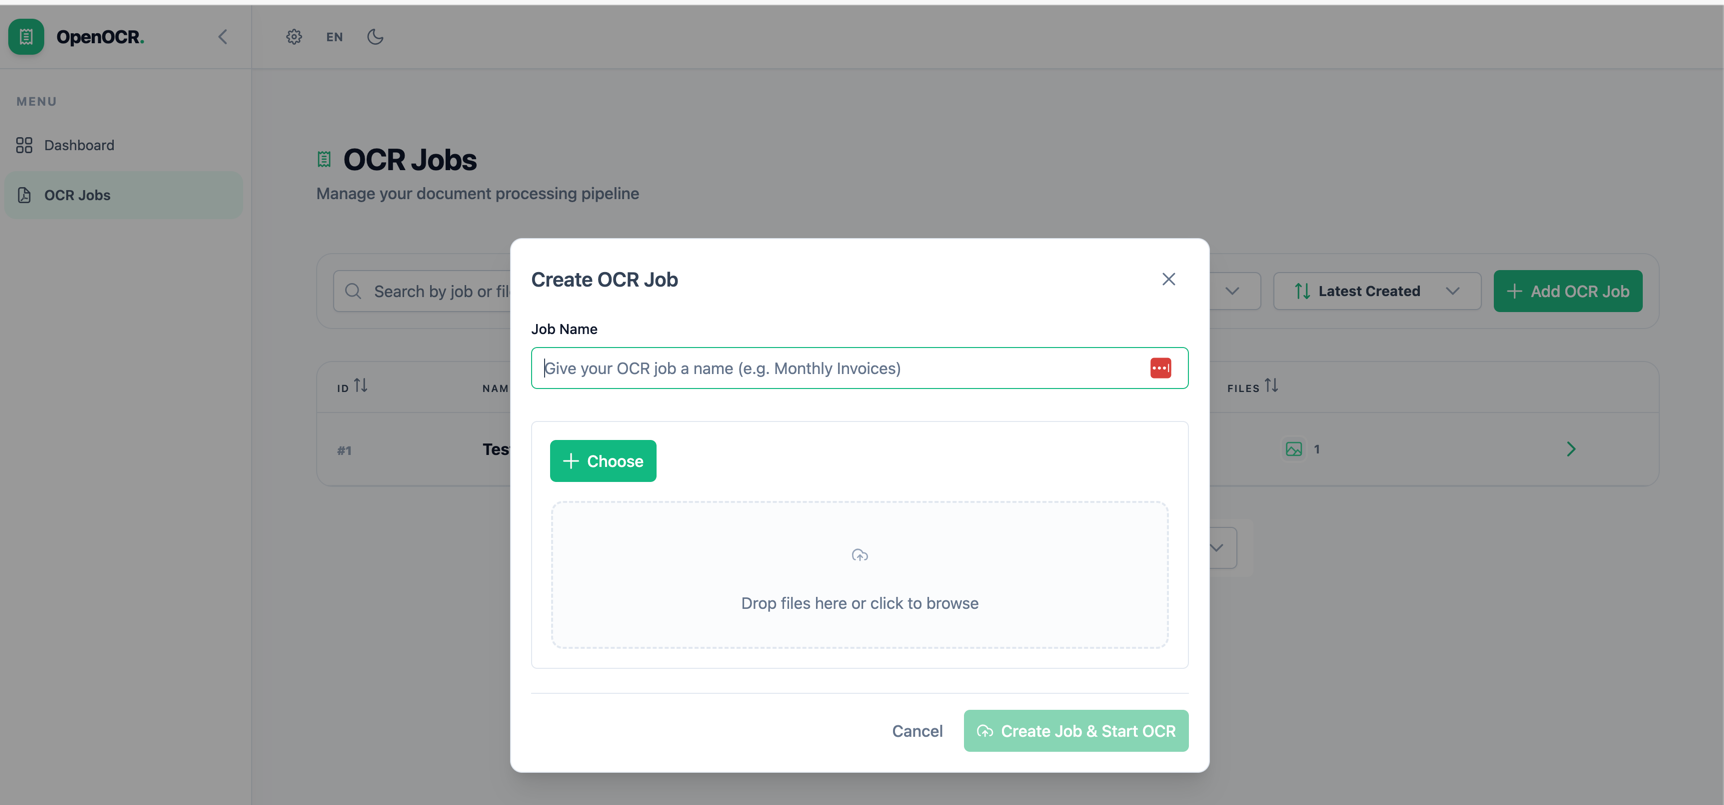
Creating an OCR Job
Click + Add OCR Job to open the creation dialog. Give the job a name, then choose one or more files to upload.
Multiple Files per Job
A single job can process multiple files at once. Each file has its own OCR provider selector so you can mix providers within the same job.
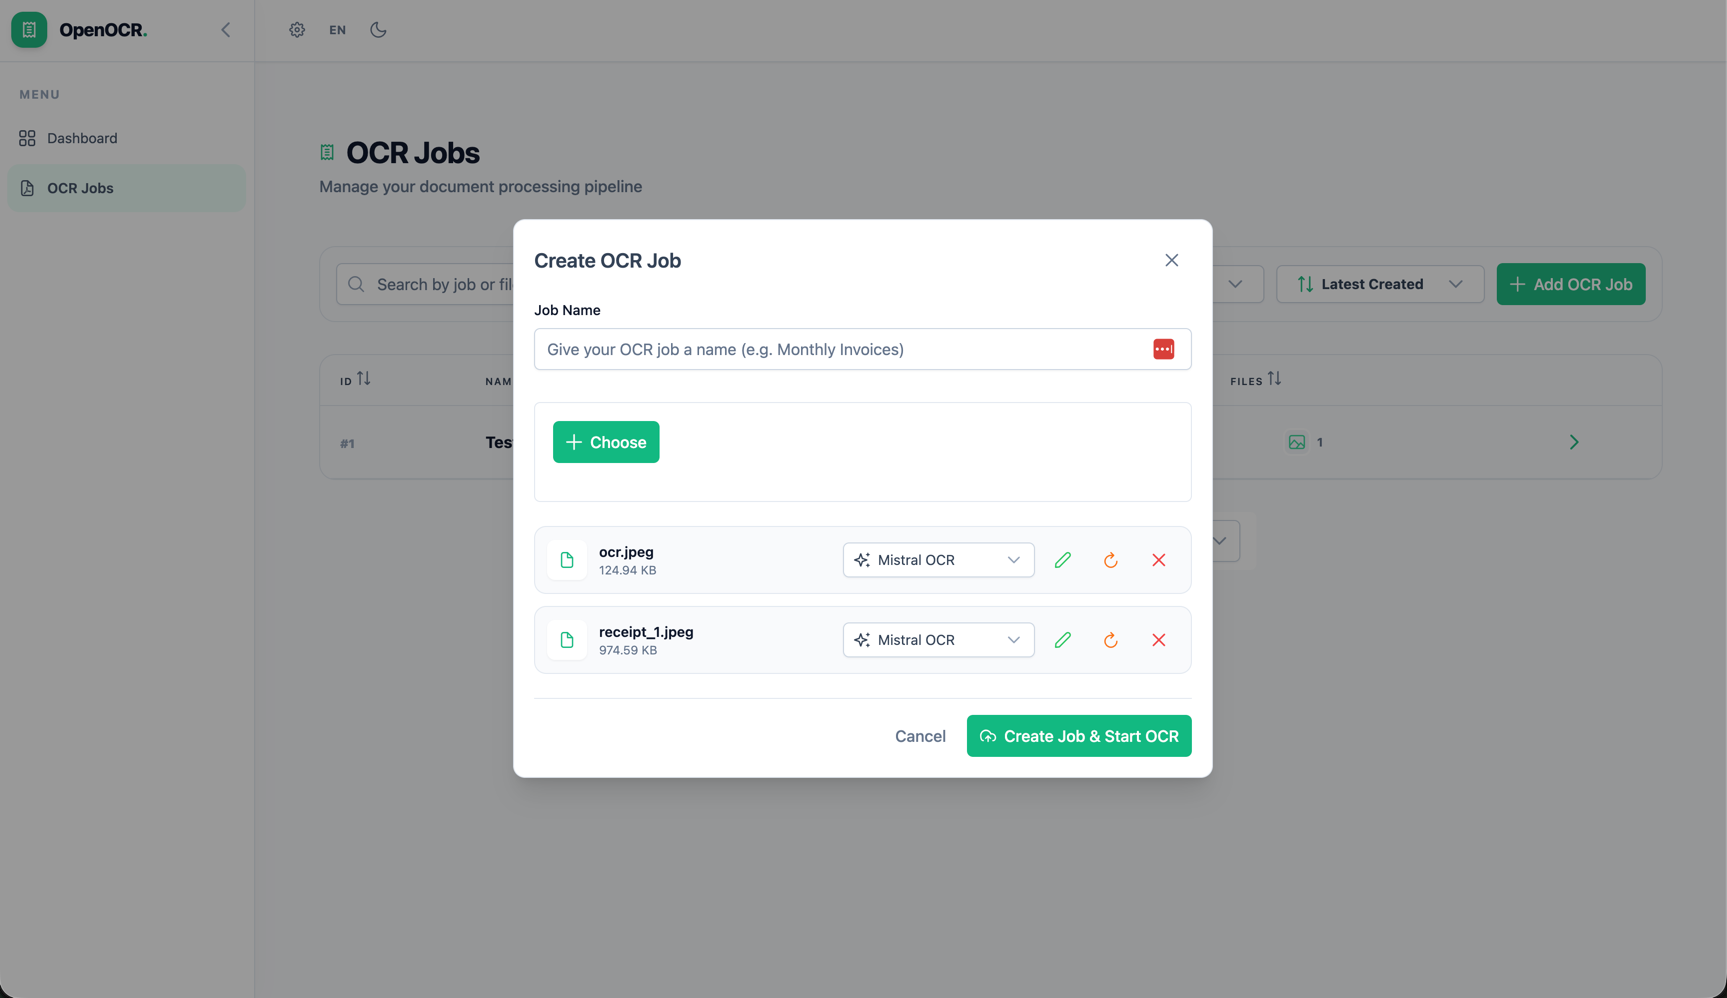
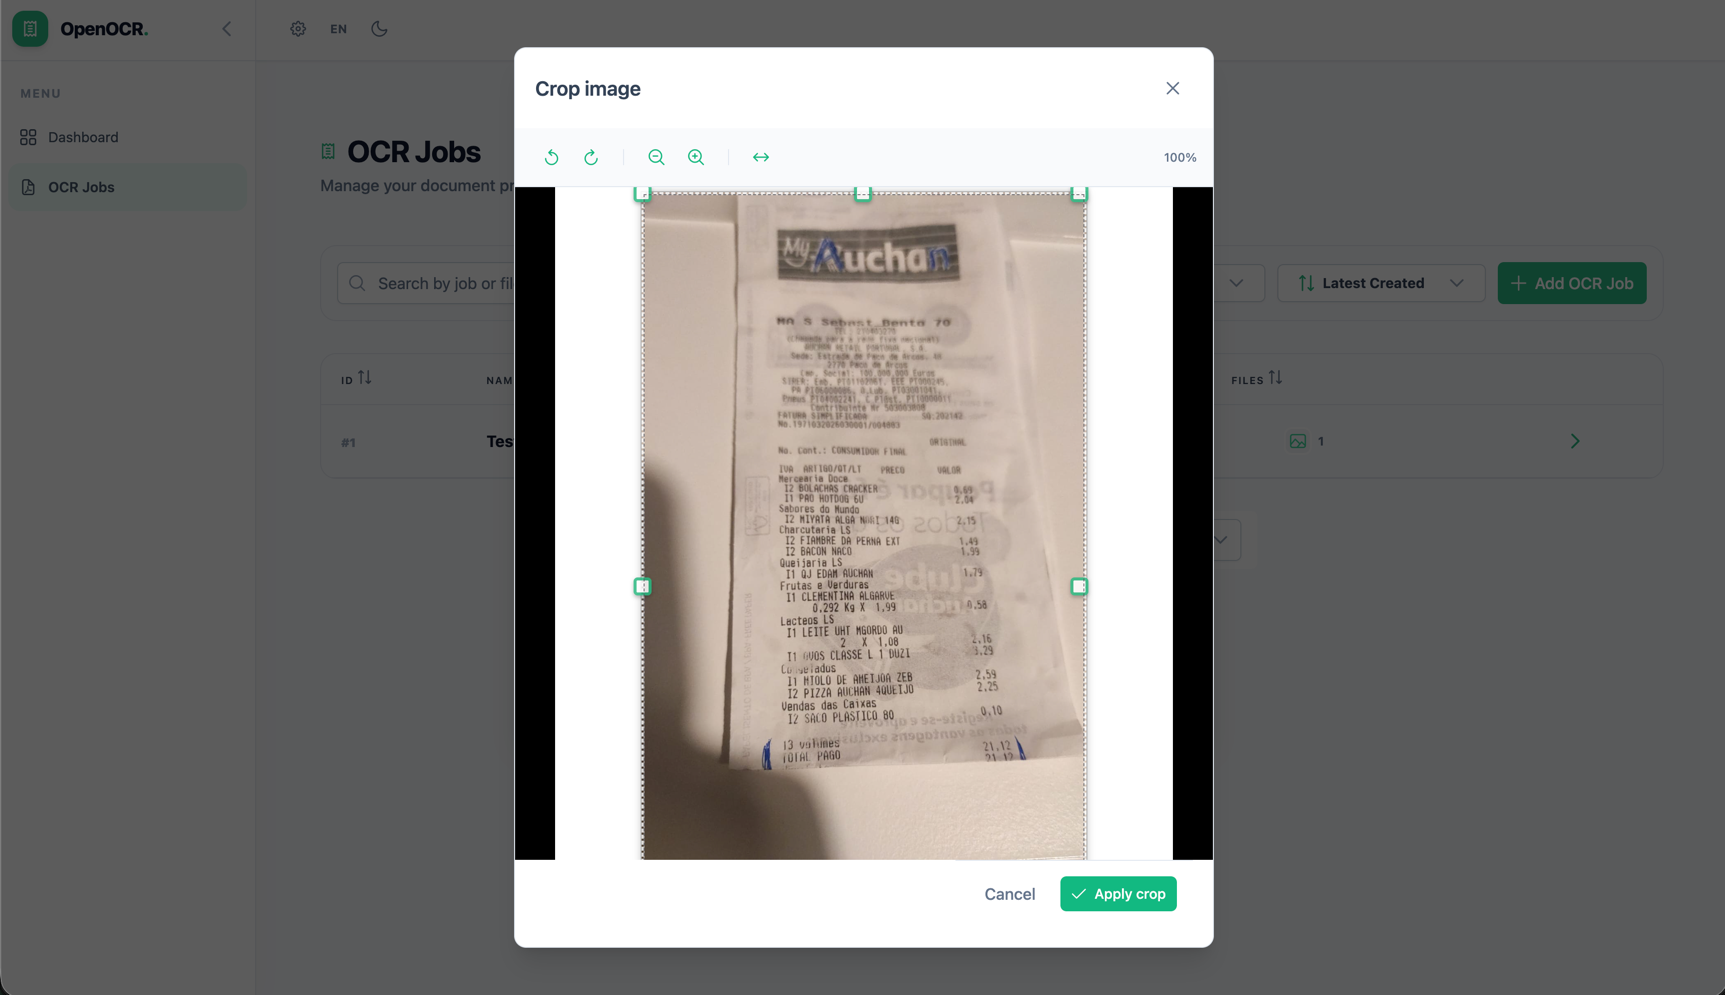
Image Crop
When uploading an image, an optional crop dialog lets you frame the receipt before sending it for OCR. Supports rotate, zoom, and flip controls.
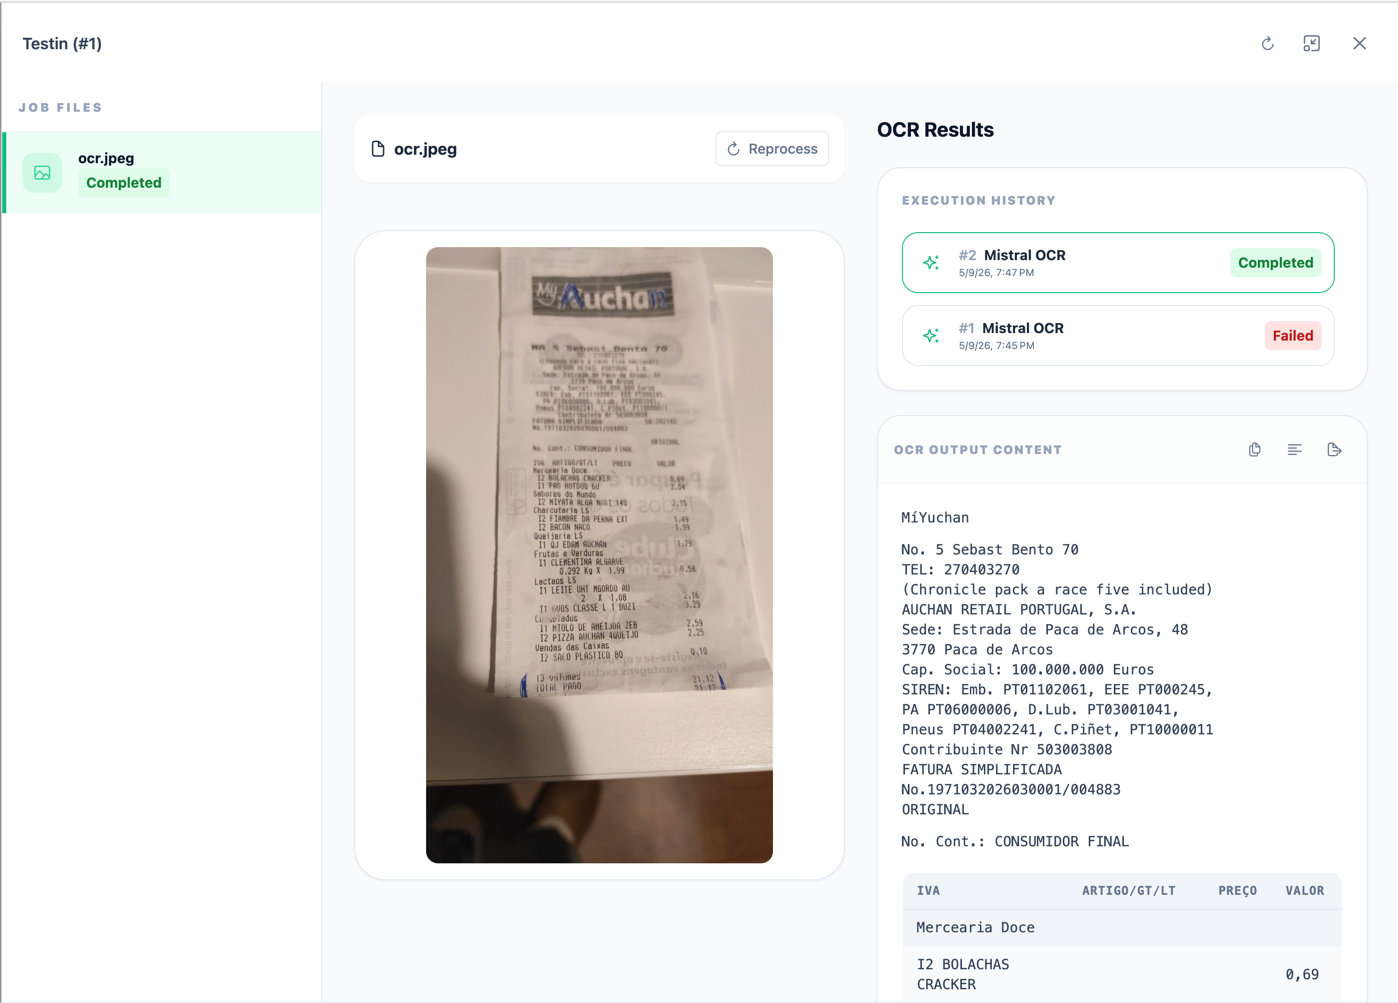
Job Detail — OCR Results
Clicking a job opens the detail panel. The receipt image is shown on the left. On the right, Execution History tracks every OCR run and the OCR Output Content panel displays the structured text extracted from the receipt.
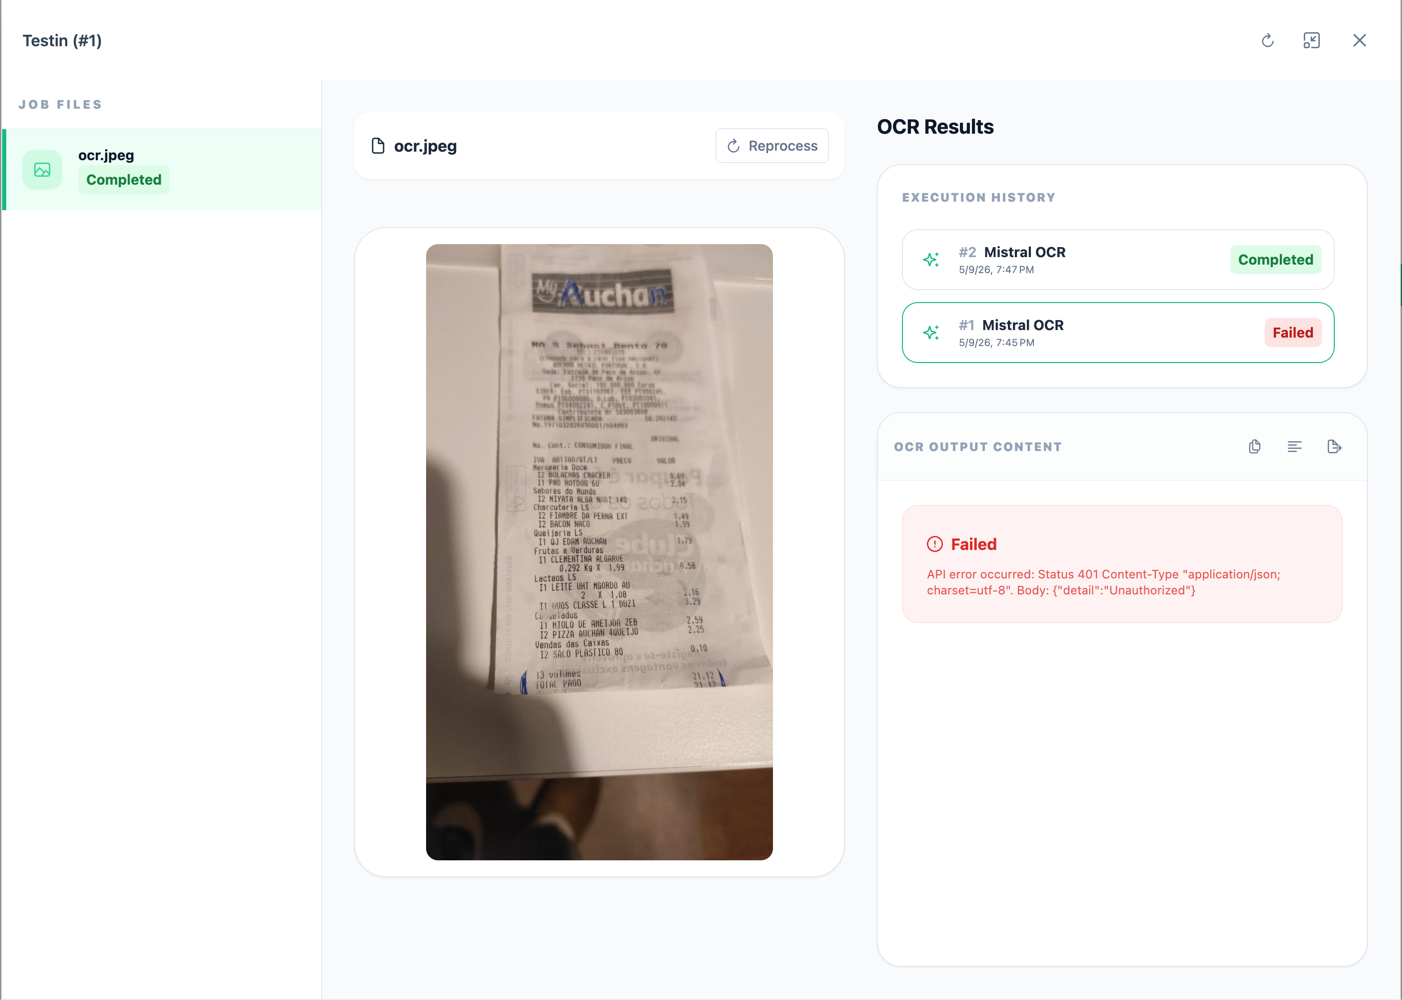
Job Detail — Failed Execution
When an execution fails (e.g. an invalid API key), the OCR Output Content panel shows the provider’s error message. You can retry by clicking Reprocess.
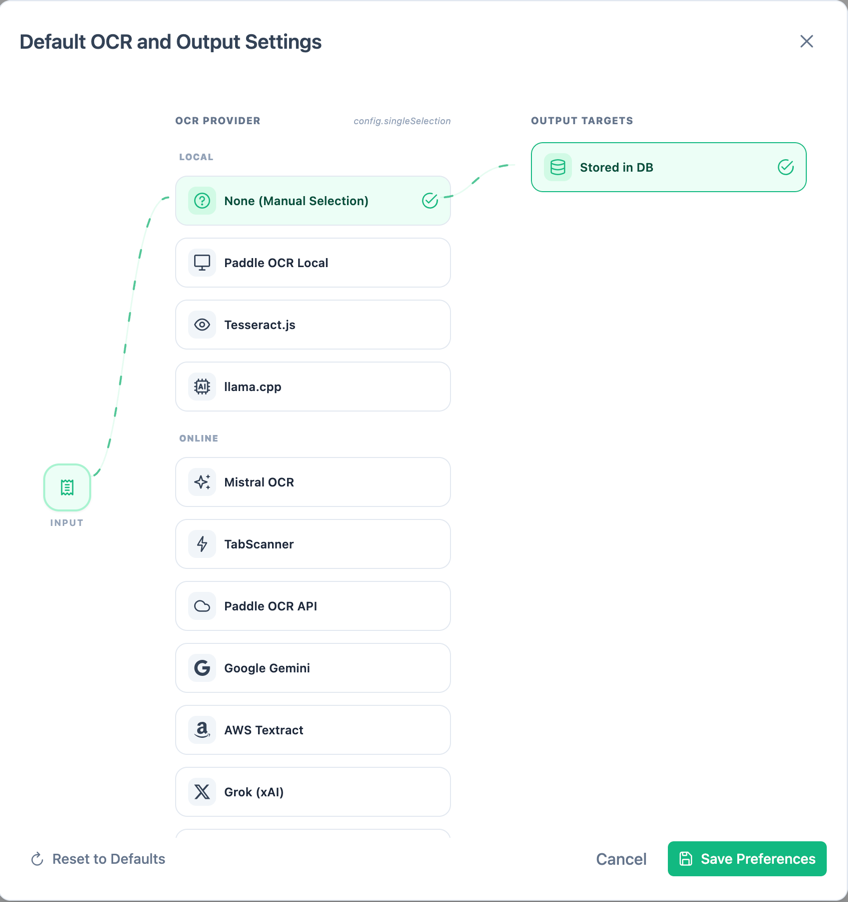
Default OCR & Output Settings
The settings dialog lets you pick a default OCR provider (local or cloud) and configure output targets. The selected provider is used automatically when uploading new jobs.
🌙 Dark Mode
The UI supports a dark theme toggled from the top navigation bar. All pages adapt automatically.
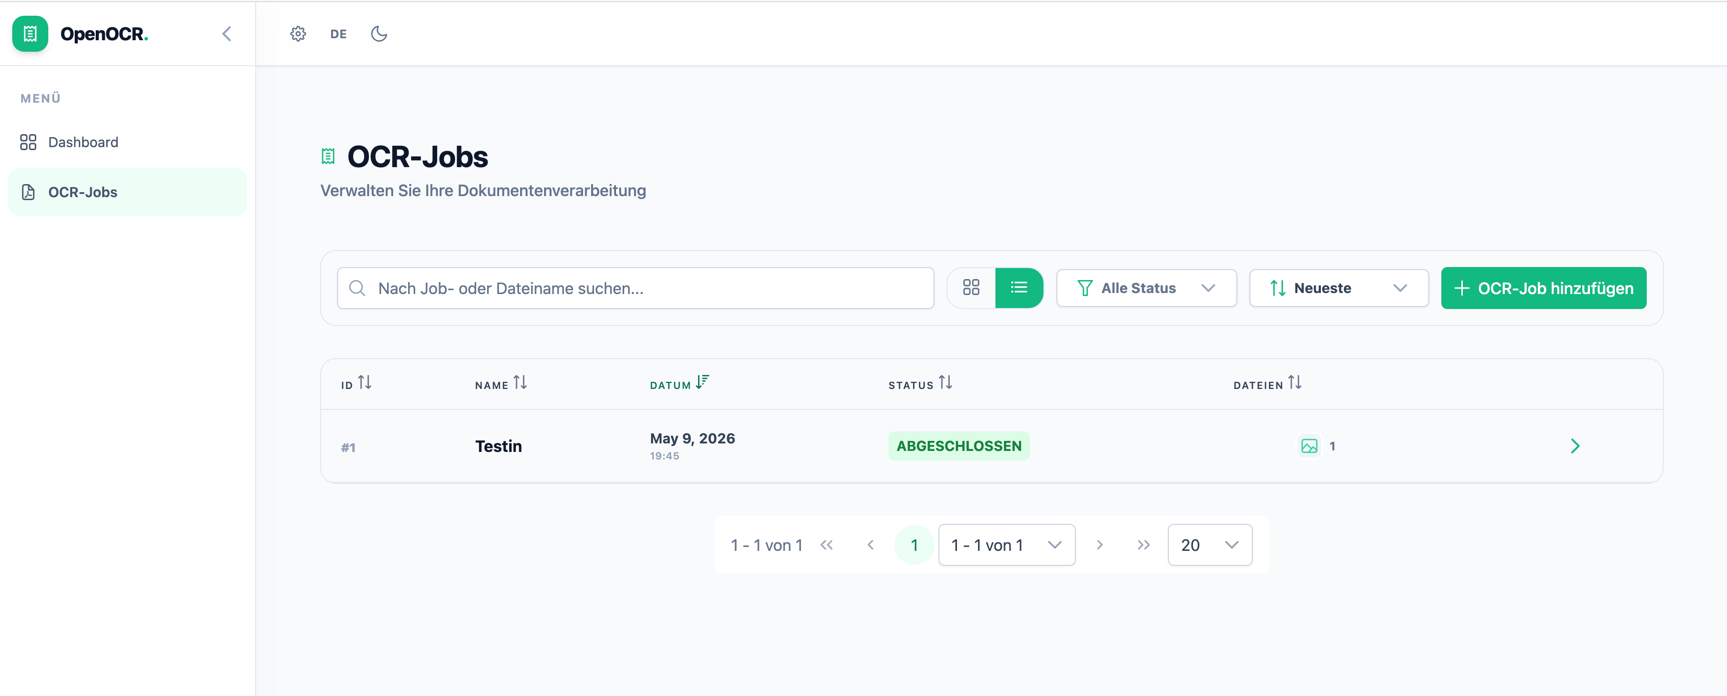
🌍 Localisation
The interface is fully localised. Switch languages via the language toggle in the top bar. Supported languages include English, Portuguese, French, and German.
All screenshots taken from a locally running instance.